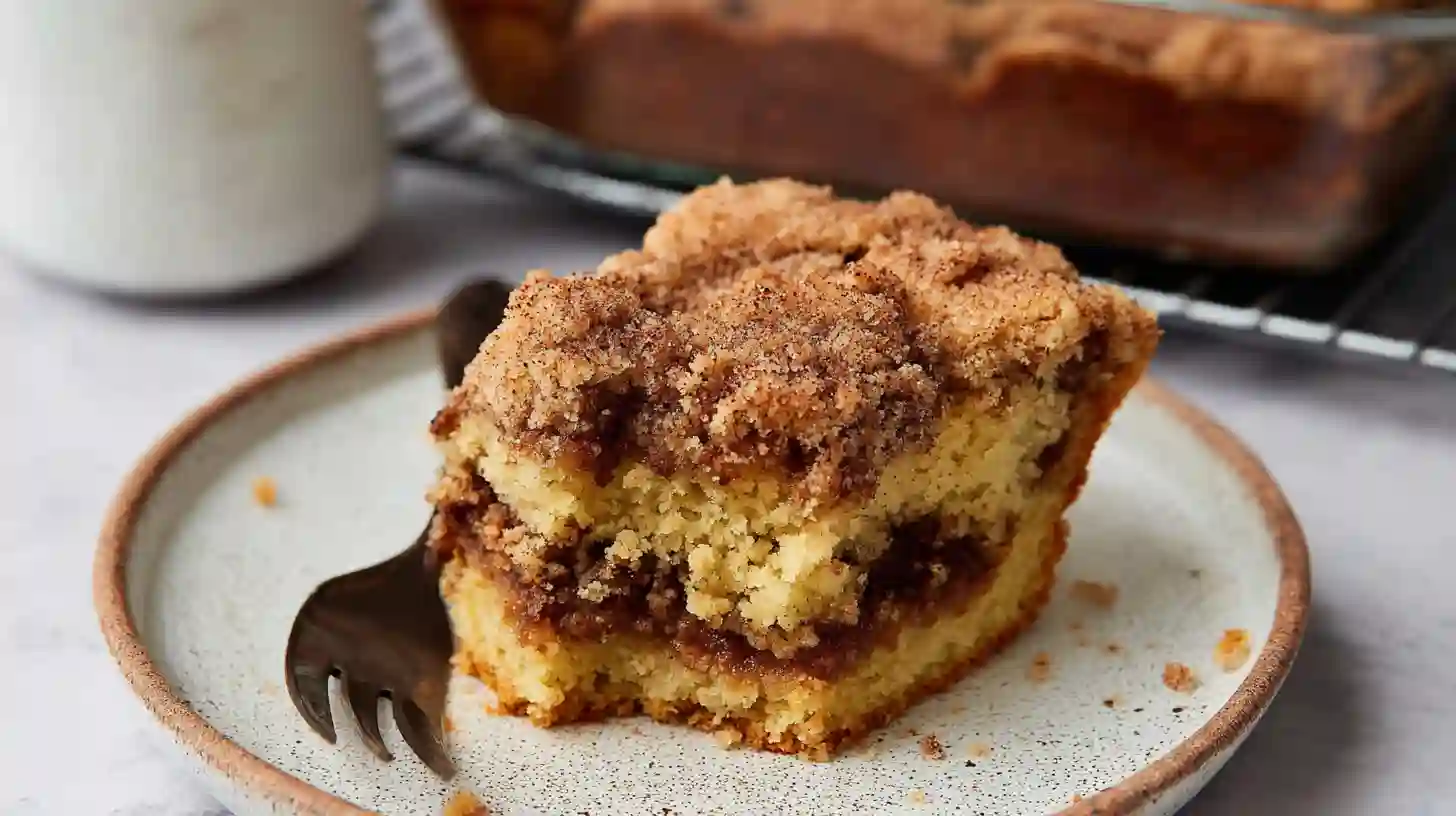
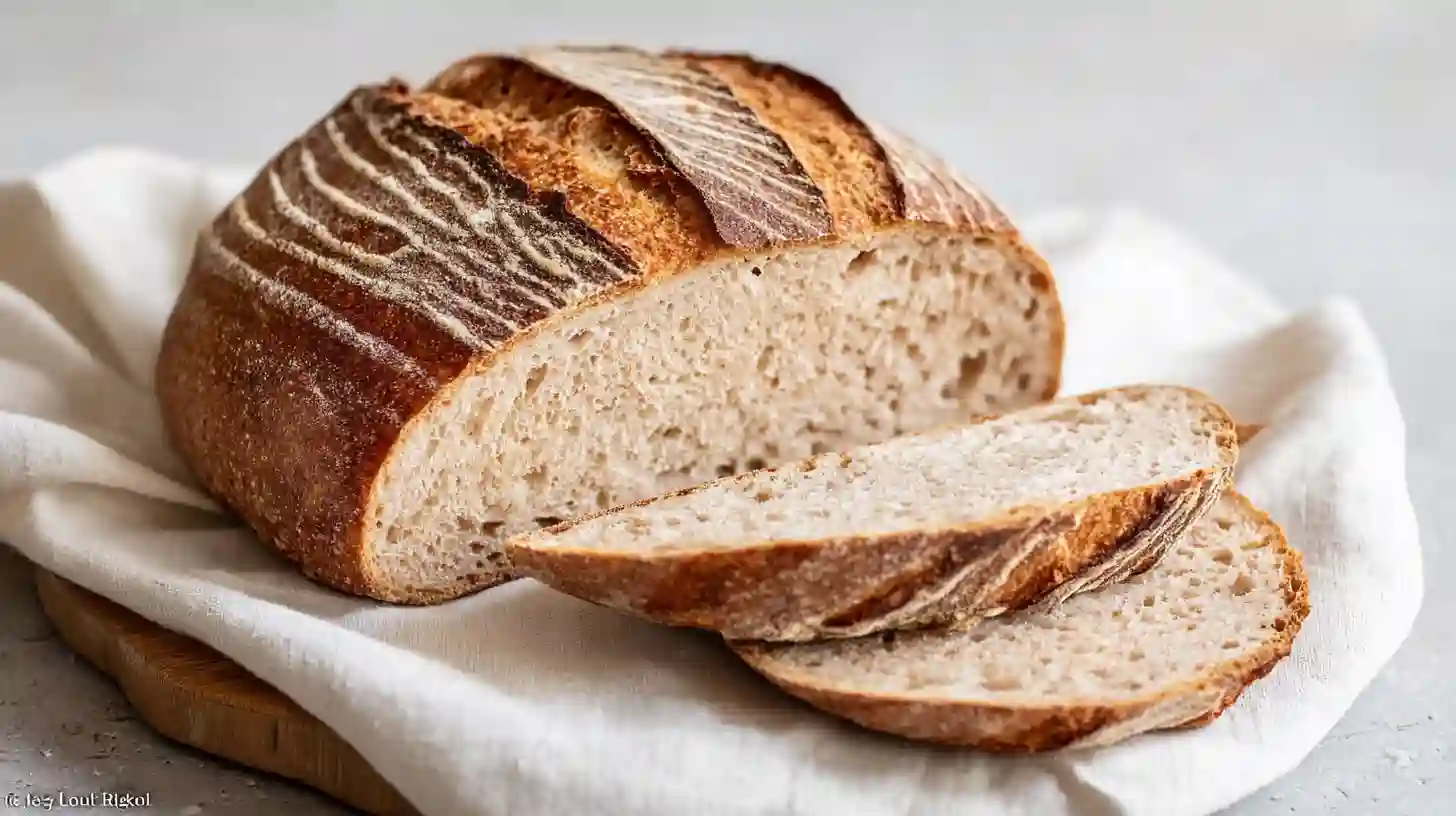
If you’ve been searching for Great gluten free bread recipe that doesn’t come out dense or crumbly, you’ve come to the right place. This recipe promises a soft, tender crumb with a bakery-style crust that bends and squishes just like the bread you remember. Whether you’re making sandwiches for lunch or enjoying a warm slice with butter, this gluten-free bread will satisfy your cravings without compromising on texture or flavor.
As a passionate home baker, I’ve spent years perfecting gluten-free recipes. When I first switched to a gluten-free diet, I was frustrated with the lack of great bread options. But after much experimentation, I finally cracked the code for making gluten-free bread that’s both delicious and versatile. Now, I’m excited to share it with you!
Why The Great gluten free bread Recipe is the Best
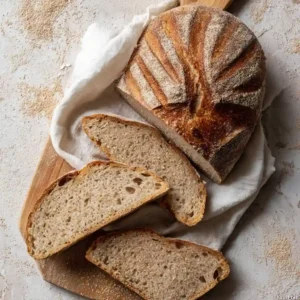
This gluten-free bread recipe is genuinely soft and flexible, a key concern for anyone who’s tried gluten-free loaves in the past. The bread has a tender crumb that isn’t dense or dry, making it ideal for everything from hearty sandwiches to light morning toast. It bends and squishes like traditional bread, giving you that satisfying texture that’s often missing in gluten-free options.
What makes this recipe so reliable is its simplicity. Using basic pantry staples, you can create a loaf that’s easy to make and always turns out just right. There’s no need for complex steps or hard-to-find ingredients—just straightforward methods and everyday items that you likely already have on hand.
Versatility is another reason this recipe stands out. It can easily be made dairy-free, and it works perfectly for various uses. Whether you need a soft sandwich bread, a quick toast in the morning, or a base for gluten-free bruschetta, this recipe has you covered.
Ingredients Needed for The Great gluten free bread
Here is a list of the ingredients you will need for this gluten-free bread recipe. To ensure the best results, it is important to measure everything accurately, especially the flours and water.
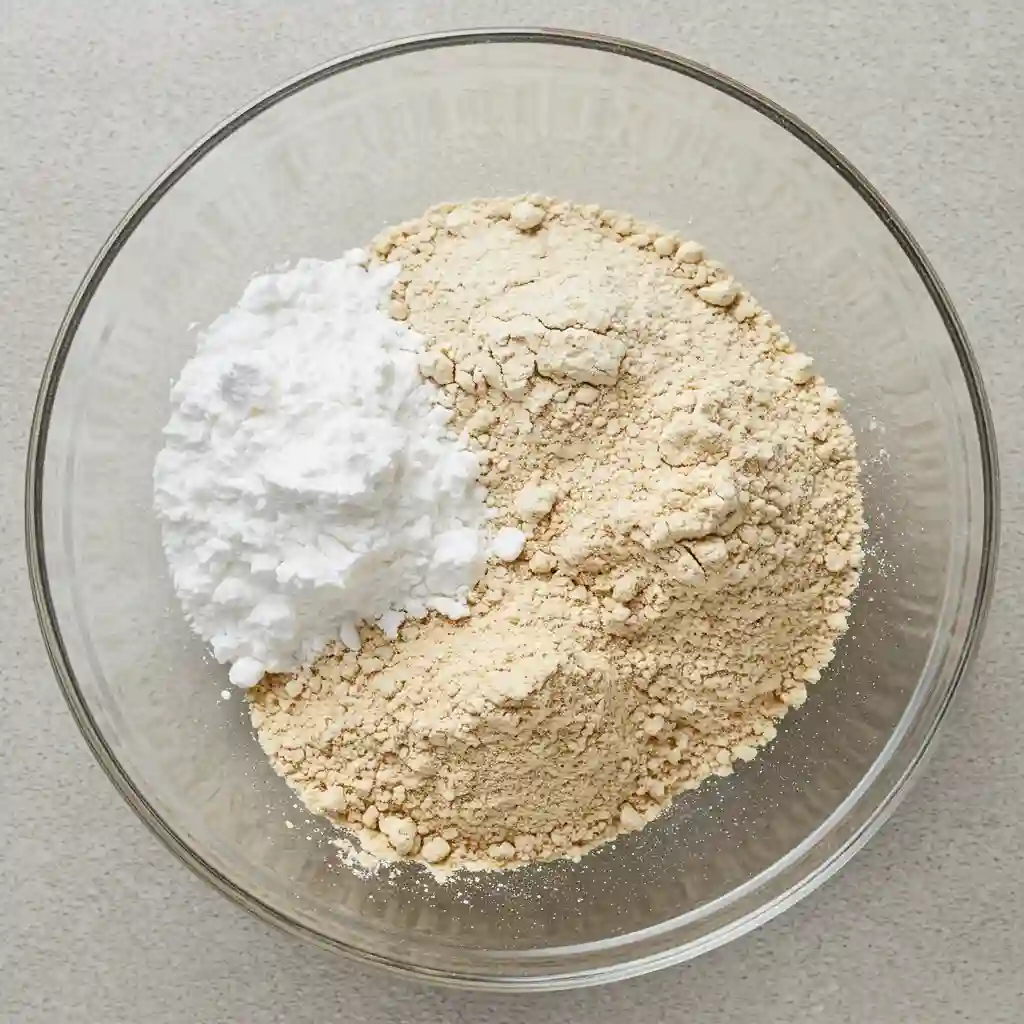
Dry Ingredients:
- 130 g buckwheat flour
- 100 g potato starch (or tapioca flour)
- 90 g brown rice flour
- 2 tsp sea salt (or 10 g)
Wet Ingredients:
- 8 g dried instant yeast (or 2 1/2 tsp)
- 20 g sugar
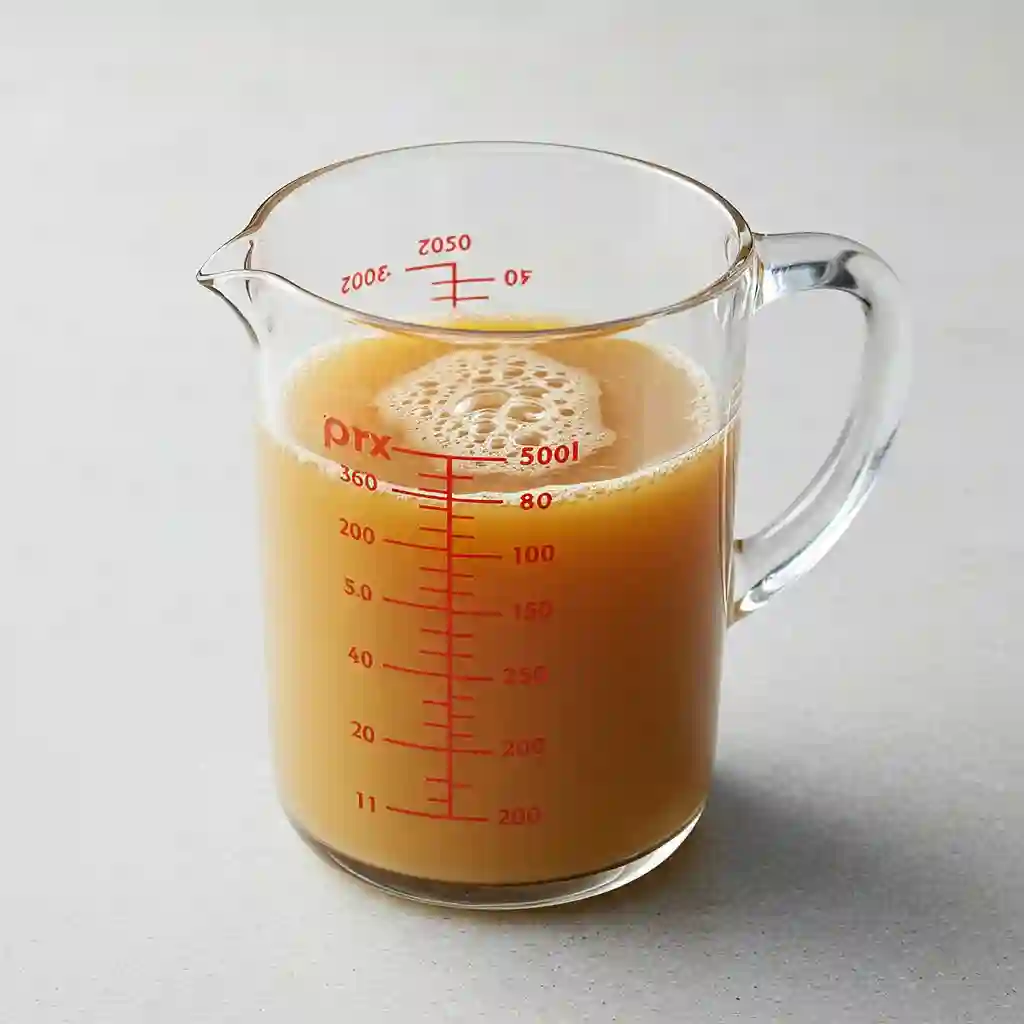
- 390 g warm water (divided)
- 2 tsp apple cider vinegar (or 12 g)
Optional Ingredients for Texture:
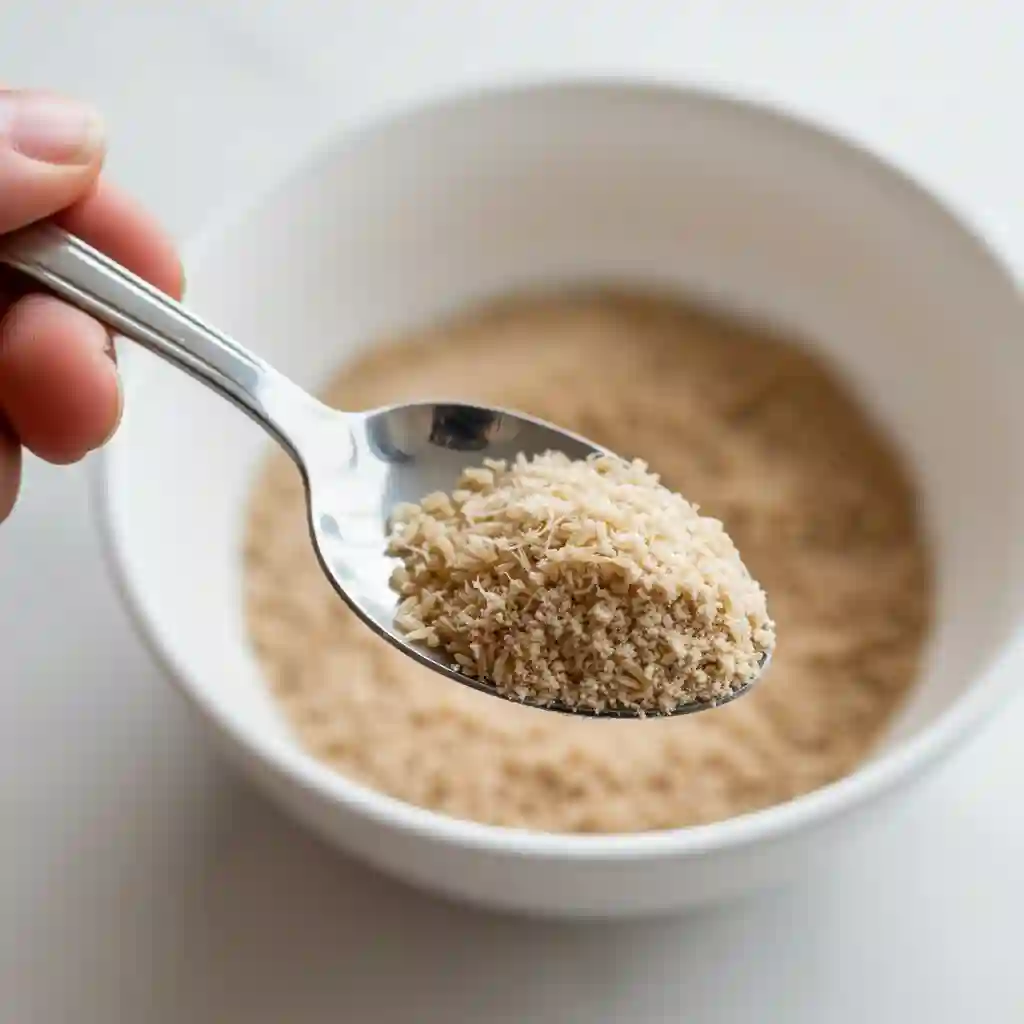
- 20 g psyllium husk (not powdered)
These ingredients work together to create a soft, flexible loaf with the perfect texture. If you’re using a specific gluten-free flour blend, you can substitute the individual flours, but keep in mind that the results may vary. Always be sure to check the package instructions for any adjustments to the recipe based on the flour blend you’re using.
Understanding Your Ingredients: The Science of The Great gluten free bread
Making gluten-free bread requires understanding the roles of the ingredients in creating the right structure and texture. Here’s a breakdown of how each key ingredient contributes to the final loaf.
The Binders (The “Gluten”)
Since gluten is not present in gluten-free bread, binders are necessary to create elasticity.
Xanthan Gum: This ingredient mimics gluten by providing the stickiness and structure needed for bread to hold its shape. If your flour blend already contains xanthan gum, you can omit it from the recipe.
Psyllium Husk: Psyllium husk is another option that helps with texture. It requires hydration to form a gel-like substance that creates a chewy, rustic texture. It works as a great alternative to xanthan gum, though it may give the bread a slightly denser crumb.
The Structure-Builders (The “Scaffolding”)
Egg Whites: Egg whites are crucial in providing the necessary protein structure. They help the bread rise and maintain its shape as it cools, preventing it from collapsing. The proteins in egg whites trap air bubbles, giving the bread a light and airy texture.
The Lift-Assist (The “Boosters”)
Vinegar & Leaveners: Apple cider vinegar plays a significant role in this recipe. When combined with baking powder or cream of tartar, it reacts with the leaveners to create a stable rise. The acid helps activate the yeast, allowing for a more consistent and reliable rise.
The Tenderizers (The “Softeners”)
Fats (Oil/Butter): Adding oil or butter to the dough helps keep the crumb soft and moist. It also extends the freshness of the bread, preventing it from becoming dry too quickly.
Sugars (Honey/Sugar): Sugar serves two purposes in this recipe. First, it helps feed the yeast, ensuring a good rise. Second, it helps tenderize the bread, making the crumb softer and more delicate. The sugar also contributes a subtle sweetness that enhances the flavor of the bread.
The Great Flour Blend Test
To find out how different gluten-free flours affect the texture and rise of this bread, I tested the recipe using several popular commercial gluten-free flour blends. Each flour blend produces a slightly different loaf, so it’s important to know how each one performs.
In this section, I’ll share the results of my flour blend test, highlighting the differences in texture, rise, and overall outcome. By experimenting with these blends, you’ll gain a deeper understanding of how each affects the final product.
Comparison Table:
| Flour Brand Name | Finished Loaf Photo | Slice Photo (Crumb) | Notes on Results |
| Pillsbury Gluten-Free Flour | Best rise, soft texture, light crumb | ||
| King Arthur Measure for Measure | Slightly denser crumb, but excellent flavor | ||
| Bob’s Red Mill 1-to-1 | Dense texture, not recommended for yeast baking | ||
| Caputo Fioreglut | Soft texture, best for lighter, airier bread |
The test results show that while some flour blends, like Pillsbury and Caputo Fioreglut, yield a lighter, fluffier bread, others, such as Bob’s Red Mill 1-to-1, can create a denser loaf. Keep in mind that some flour blends are specifically designed for non-yeast baking, which can affect their performance in this recipe. For the best results, choose a blend that is labeled as suitable for yeast-based recipes.
Essential Equipment for Success
To achieve the best results with this gluten-free bread recipe, having the right equipment is key. The tools you use can make a significant difference in the texture, rise, and overall outcome of your loaf.
Stand Mixer
A stand mixer with a paddle attachment is highly recommended for mixing the dough. The dough for gluten-free bread is often sticky and thick, and a stand mixer helps aerate it while ensuring an even consistency. Using the paddle attachment rather than the dough hook is ideal for this type of batter-like dough.
Loaf Pan
For the perfect shape and rise, a 9×4-inch Pullman loaf pan is the best choice. This pan has high, straight sides that help the dough rise upwards rather than spreading out. If you don’t have a Pullman pan, a 9×5-inch loaf pan will work, but keep in mind the loaf will be shorter and might have a slightly different texture.
Digital Kitchen Scale
Measuring flour by weight is the most accurate way to ensure consistent results. Using a digital kitchen scale eliminates the guesswork that comes with using cups, which can lead to inaccurate measurements. If you must use cups, make sure to follow the “spoon and level” method to get the best results.
Instant-Read Thermometer
An instant-read thermometer is essential to check when the bread is fully baked. Gluten-free bread can sometimes appear done on the outside but still be undercooked inside. For perfect results, ensure the internal temperature of the bread reaches 205-210°F before removing it from the oven.
How to Make The Great gluten free bread
Follow these detailed, step-by-step instructions to make your own soft, fluffy gluten-free bread. Each step is important to ensure the bread turns out perfectly every time. Here’s how to do it:
Activate the Yeast
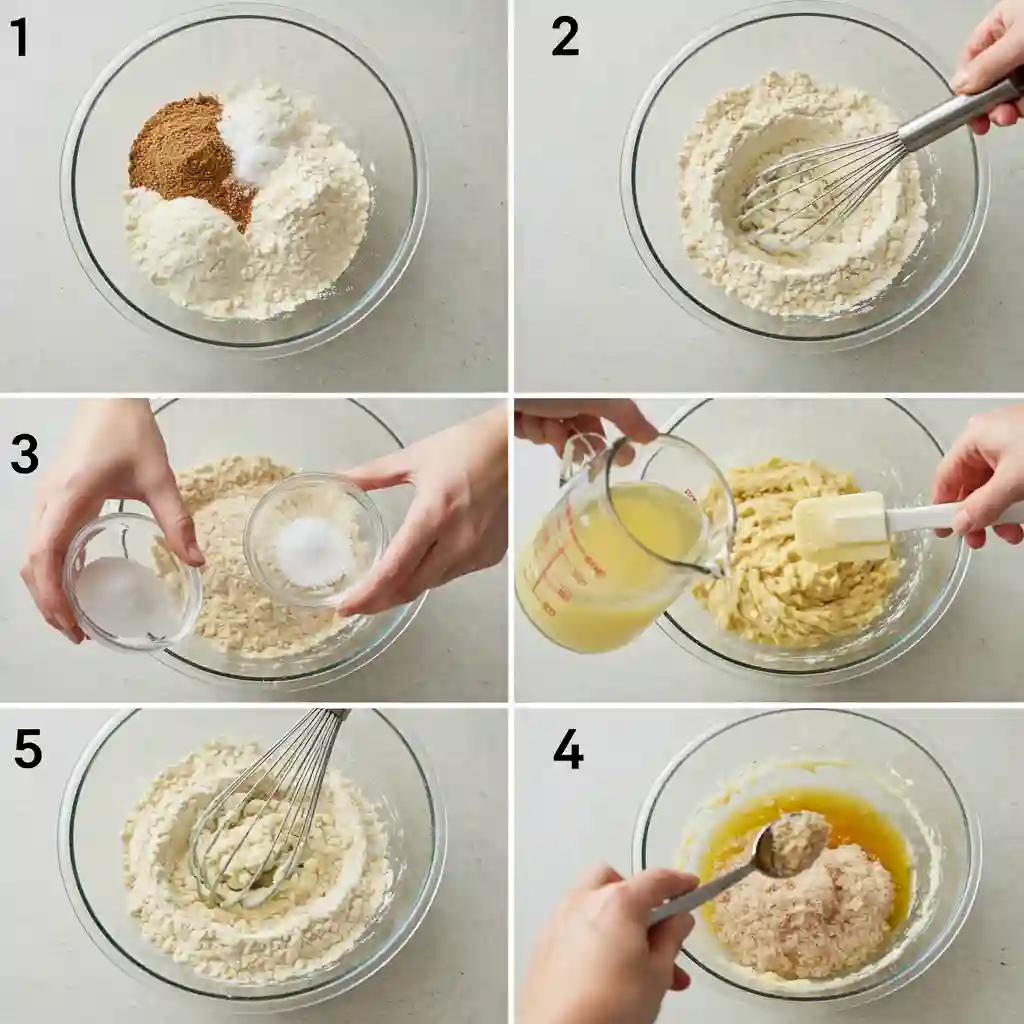
In a small bowl, combine the yeast, sugar (or honey), and 150 g of warm water. Stir gently to mix, then let it sit for 10-15 minutes until it becomes frothy. This step ensures that the yeast is active and ready to help the bread rise.
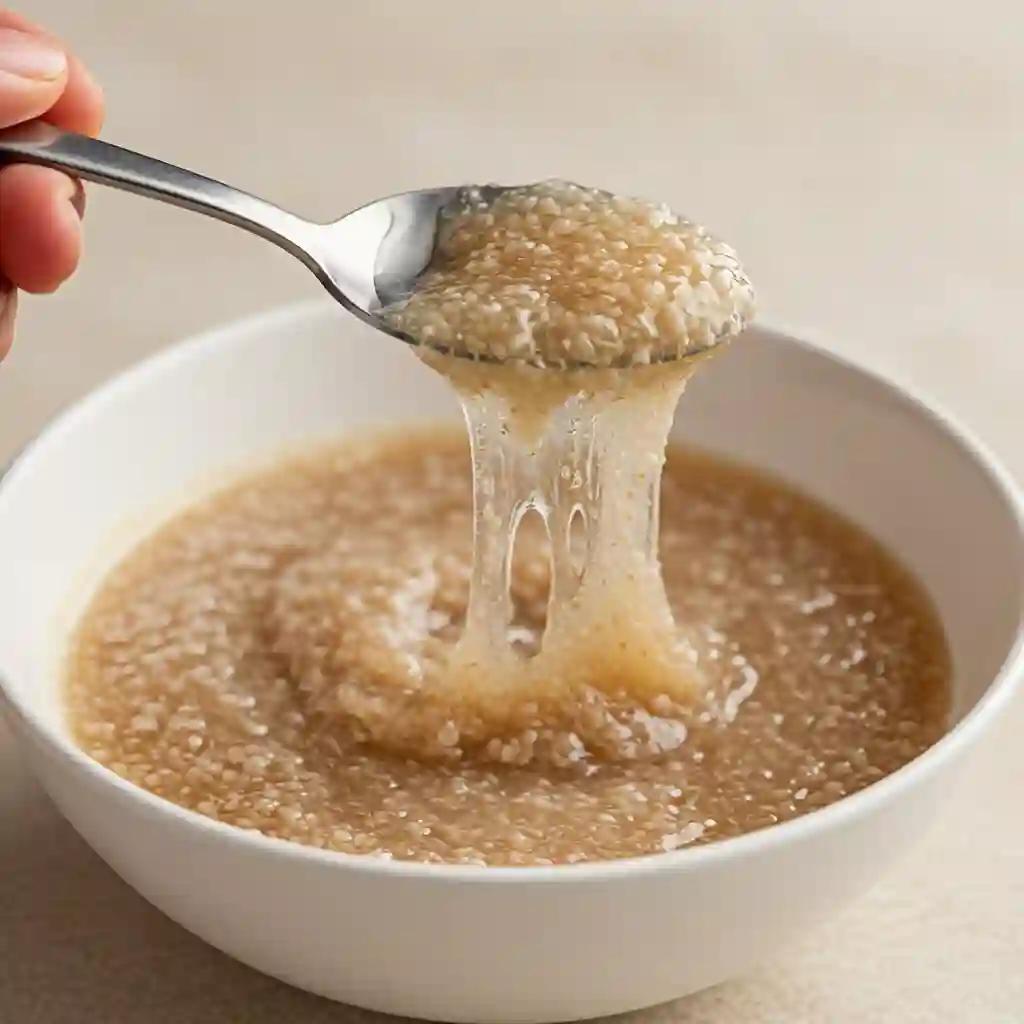
Prepare the Psyllium Gel
In another bowl, combine 240 g of water with the psyllium husk. Stir well, and within 15-30 seconds, it will turn into a thick gel. This gel helps bind the ingredients and gives the bread a chewy texture.
Combine the Dry Ingredients
In a large mixing bowl, whisk together the buckwheat flour, potato starch, brown rice flour, and sea salt. Make sure the ingredients are evenly mixed to avoid clumping when you add the wet ingredients.
Mix the Wet and Dry Ingredients
Pour the yeast mixture, psyllium gel, and apple cider vinegar into the bowl with the dry ingredients. Stir everything together until fully combined. You should get a thick, slightly sticky dough. If it’s too dry, add a small amount of warm water until the dough comes together.
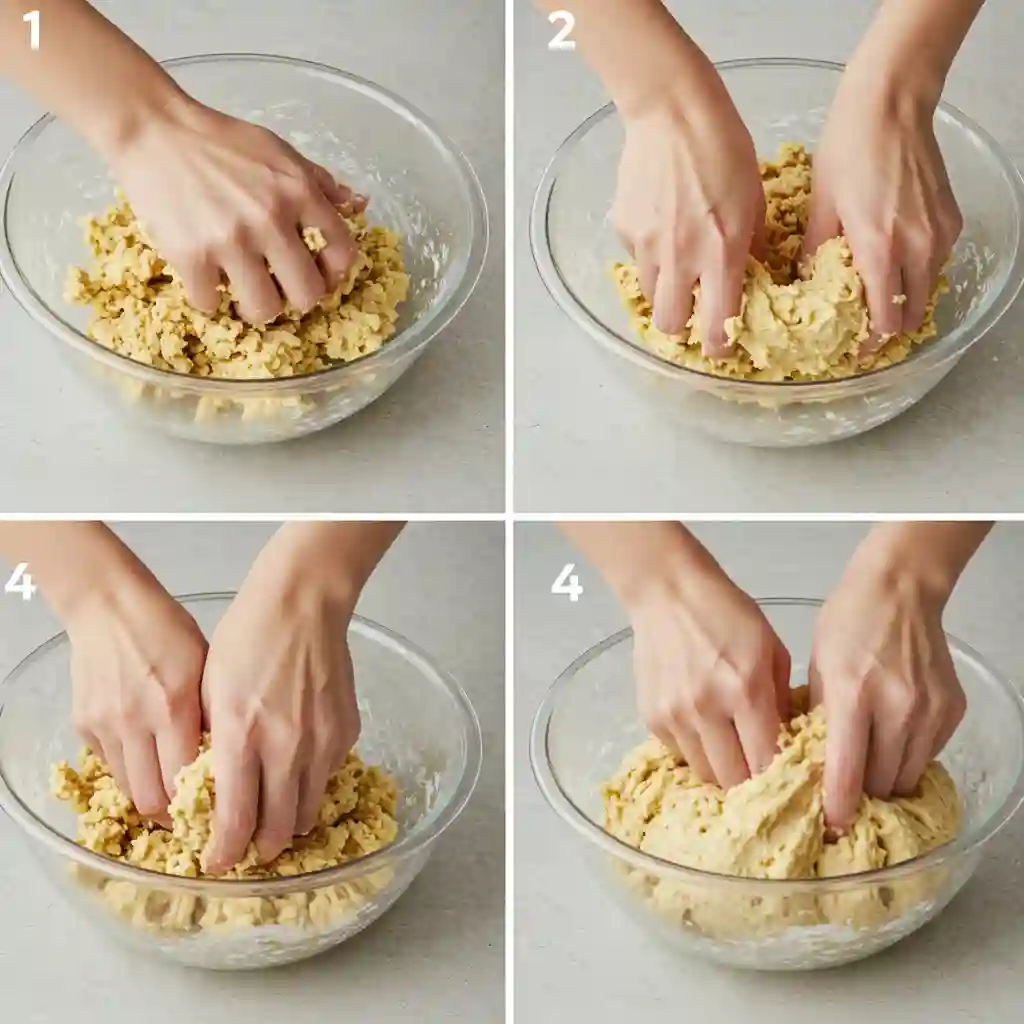
Knead the Dough
Wet your hands to prevent the dough from sticking and knead it for about 5 minutes. The dough will be sticky but should become smoother and more cohesive. You can also use a stand mixer to knead the dough with the paddle attachment.
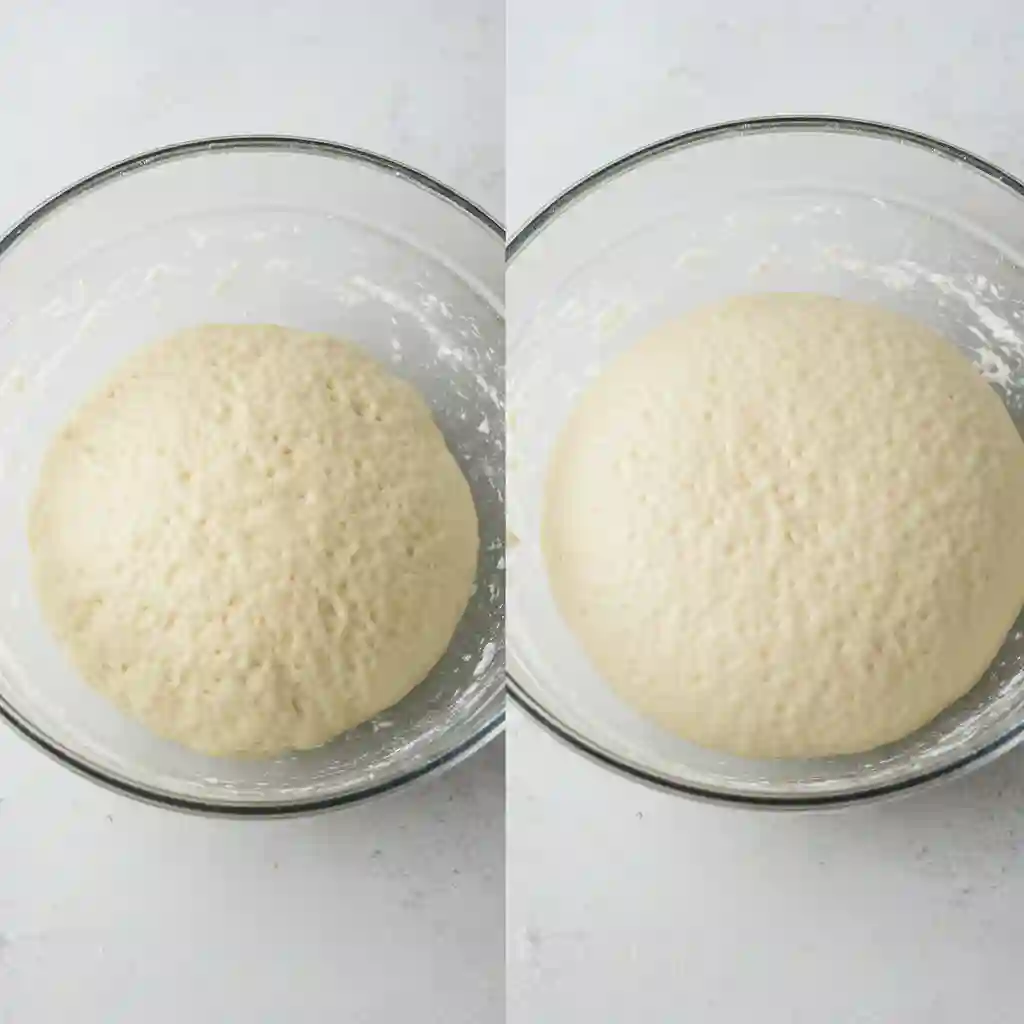
First Rise
Form the dough into a ball and place it in a lightly oiled bowl. Cover it with a damp tea towel and set it in a warm place to rise. Let the dough rise for about 30-90 minutes, or until it has doubled in size. This is the dough’s first rise, and it’s important not to rush this step for the best texture.
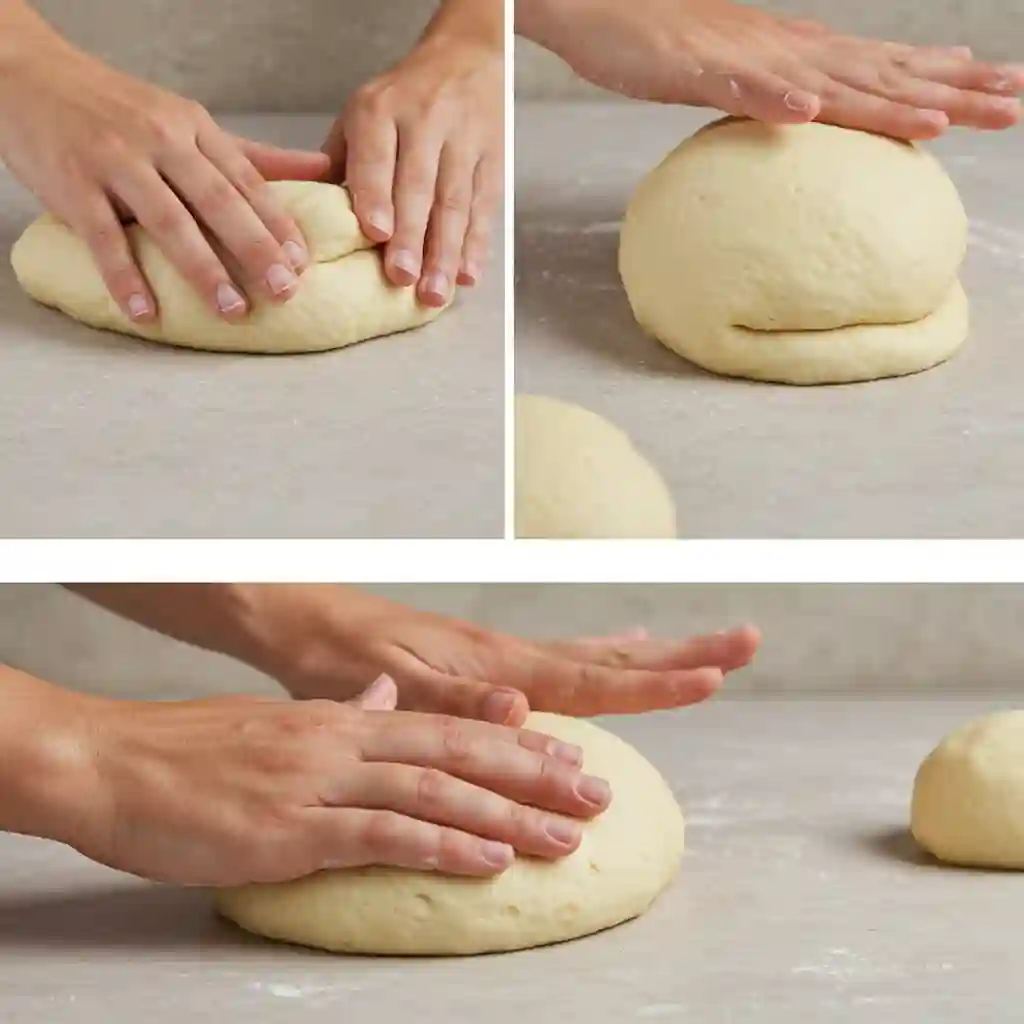
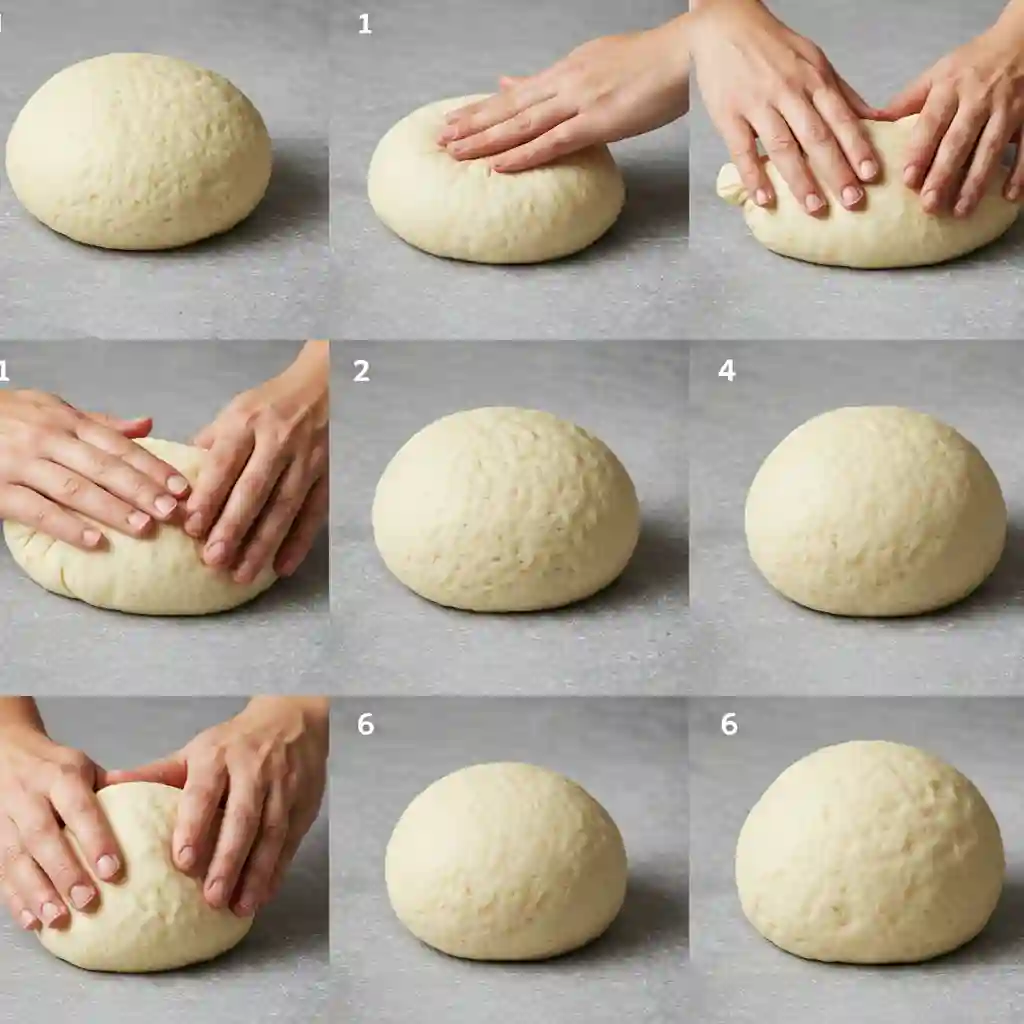
Shape the Dough
Once the dough has risen, transfer it to a lightly floured surface. Gently shape the dough into a tight ball, being careful not to deflate it too much. This helps create the structure for the loaf.
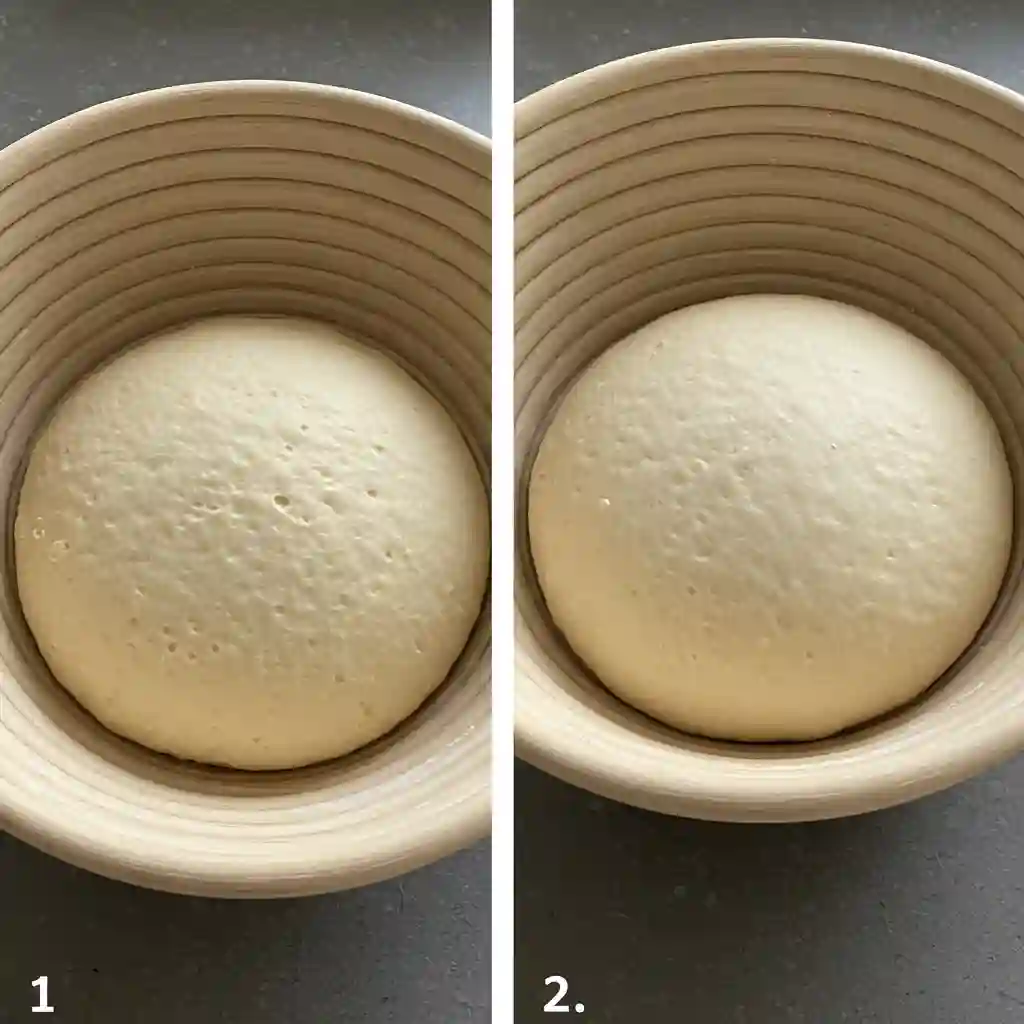
Second Rise
Place the dough into a floured proofing basket or a towel-lined bowl, with the seam side up. Cover it with a damp dishcloth and let it rise for another hour in a warm spot. The dough should rise again, though not as much as the first time.
Preheat the Oven
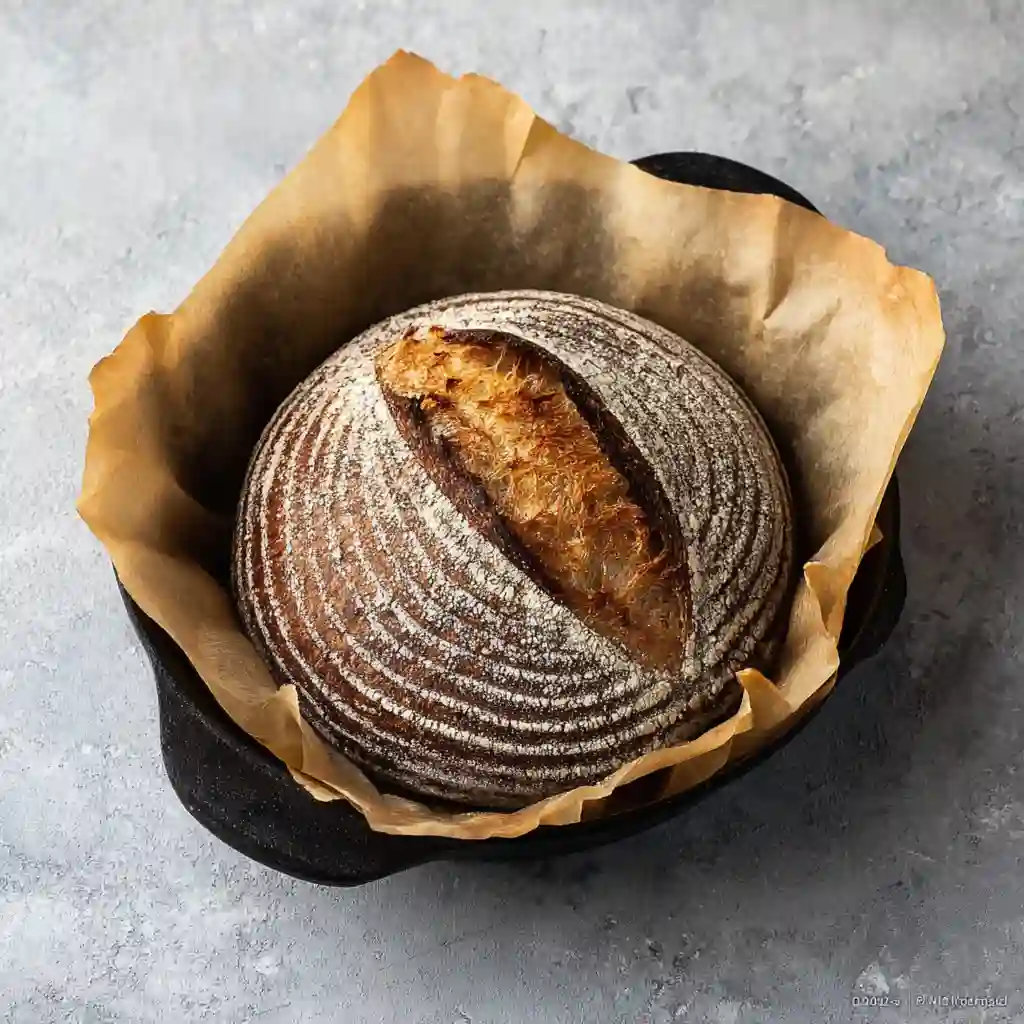
While the dough is rising, preheat your oven to 480°F (250°C). Place a Dutch oven with a lid inside the oven to heat up as well. This will create a steamy environment for baking, which is essential for achieving a crisp crust.
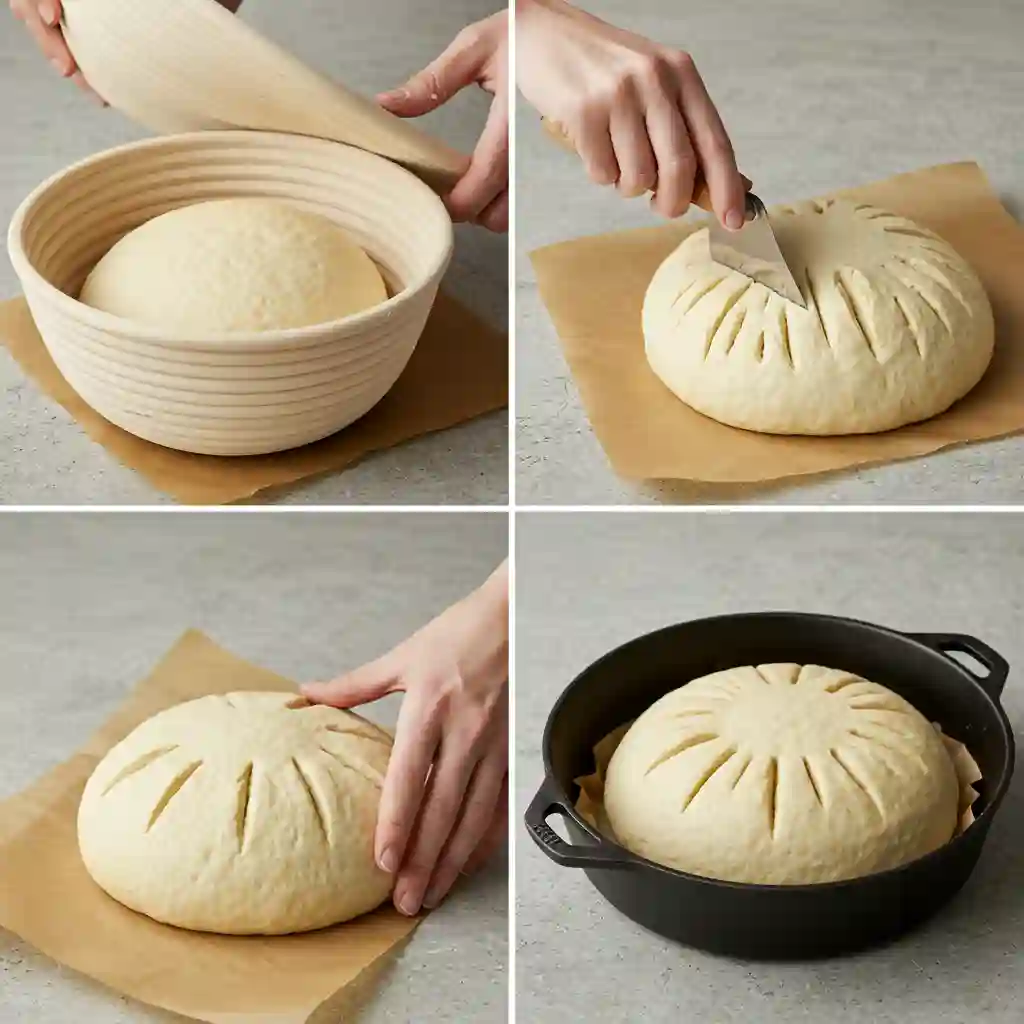
Bake the Bread
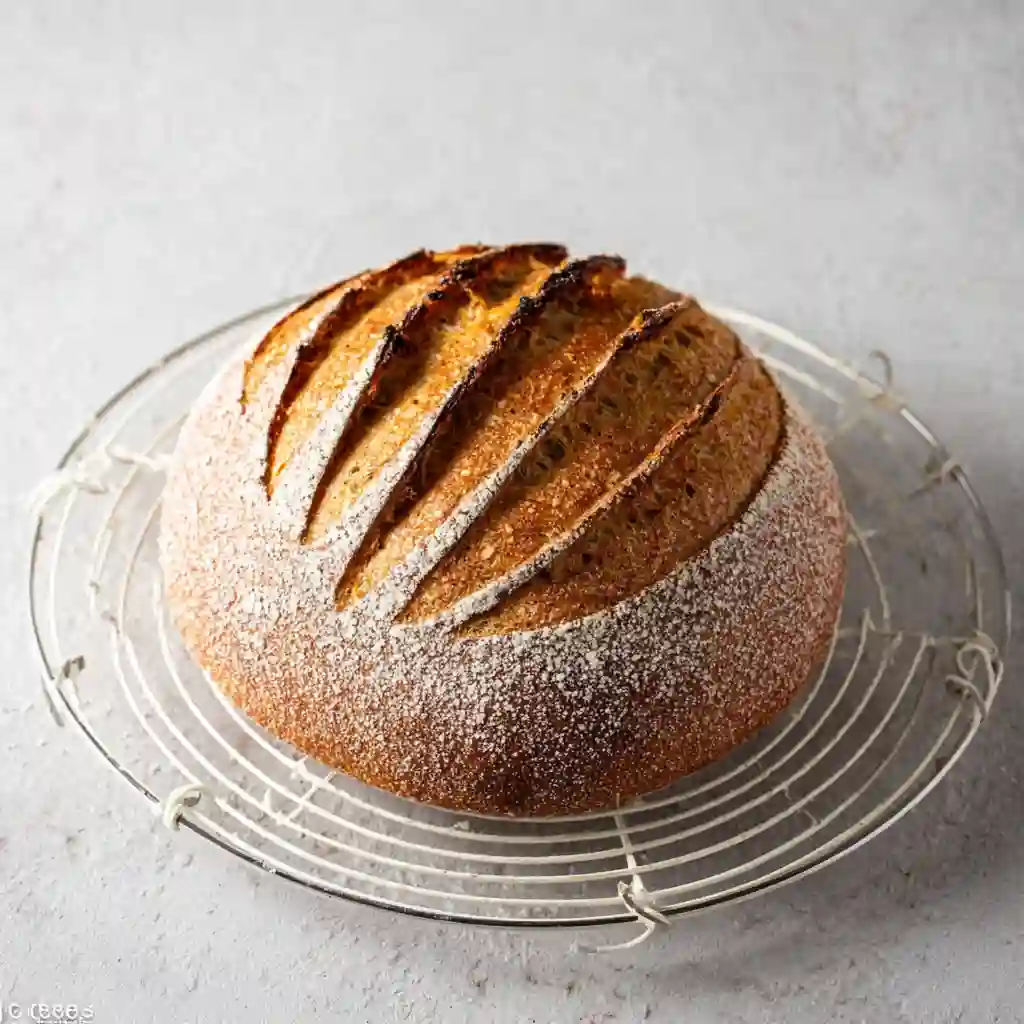
Carefully transfer the risen dough into the hot Dutch oven. Cover with the lid and bake for 30 minutes. The steam from the Dutch oven will help the bread rise and develop a beautiful crust. After 30 minutes, remove the lid and continue baking for another 10-15 minutes, or until the crust is golden brown.
Once the bread is done, remove it from the oven and allow it to cool completely on a wire rack. This cooling step is crucial to set the texture before slicing.
Serving and Storage Tips
To keep your Great gluten free bread fresh and delicious, it’s important to store it properly. Here are some tips to ensure your loaf stays at its best for as long as possible.
Room Temperature
Once the bread has cooled completely, store it in an airtight container or wrap it tightly in plastic wrap. Keep the loaf at room temperature for up to 3 days. To maintain the softness and moisture, it’s best not to slice the bread entirely until you’re ready to use it. This helps prevent it from drying out too quickly.
Freezing
If you need to store the bread for a longer period, freezing is an excellent option. Wrap the cooled loaf, either whole or sliced, tightly in plastic wrap and then in aluminum foil. Place it in a freezer bag for up to 3 months. When you’re ready to eat it, simply take out a slice and toast it directly from the freezer for a fresh, warm slice of bread.
More Gluten-Free Recipes To Try!
Simple Gluten-Free Bread Recipe
banana bread recipe gluten free The Best 5 Star Result
Gluten Free Sourdough Bread Recipe
Great Gluten-Free Bread
Ingredients
Dry Ingredients
- 130 g buckwheat flour
- 100 g potato starch or tapioca flour
- 90 g brown rice flour
- 2 tsp sea salt or 10 g
Wet Ingredients
- 8 g dried instant yeast or 2 1/2 tsp
- 20 g sugar
- 390 g warm water divided
- 2 tsp apple cider vinegar or 12 g
Optional Ingredients for Texture
- 20 g psyllium husk not powdered
Instructions
- Activate the Yeast: In a small bowl, combine yeast, sugar, and 150 g of warm water. Stir gently and let sit for 10–15 minutes until frothy.
- Prepare the Psyllium Gel: In another bowl, mix 240 g of water with psyllium husk. Stir and allow it to thicken into a gel (15–30 seconds).
- Combine Dry Ingredients: In a large bowl, whisk buckwheat flour, potato starch, brown rice flour, and salt until evenly mixed.
- Mix Wet and Dry: Add the yeast mixture, psyllium gel, and apple cider vinegar to the dry mix. Stir until a sticky dough forms. Add warm water if needed.
- Knead the Dough: Knead with wet hands for 5 minutes or use a stand mixer with paddle attachment until smooth and cohesive.
- First Rise: Place dough in a lightly oiled bowl, cover with damp towel, and let rise in a warm place for 30–90 minutes, until doubled in size.
- Shape the Dough: Gently shape the risen dough into a tight ball on a floured surface.
- Second Rise: Transfer to a floured proofing basket or towel-lined bowl, seam side up. Cover and let rise for another hour.
- Preheat Oven: Preheat oven to 480°F (250°C). Place Dutch oven with lid inside to preheat as well.
- Bake: Carefully place dough into hot Dutch oven. Cover and bake 30 minutes. Uncover and bake 10–15 minutes more until golden brown.
- Cool: Let bread cool completely on a wire rack before slicing to set the texture.
Notes
Conclusion
This Great gluten free bread recipe is a game-changer for anyone looking for a soft, fluffy loaf that doesn’t crumble or become dense. With simple ingredients and easy steps, you’ll have a delicious loaf that works perfectly for sandwiches, toast, or any bread-based dish. The versatility of this recipe means you can make it dairy-free, and it will still yield amazing results.
If you’ve tried this recipe, please leave a comment below and share your experience! A star rating would also be greatly appreciated. If you found this recipe helpful, consider sharing it on social media, such as Pinterest or Facebook, so others can enjoy it too.
Have you made any variations to this bread? Let us know below! Your feedback helps others discover new ideas and tips for baking the perfect gluten-free bread.
Frequently Asked Questions (FAQ)
Here are some common questions people have when making gluten-free bread, along with helpful answers to ensure your baking experience goes smoothly.
What is the trick to making good gluten-free bread?
The key to making great gluten-free bread is understanding the role of binders and structure-builders, such as psyllium husk and egg whites. Proper hydration and allowing the dough to rise fully are also critical for achieving the right texture. Patience is important, as gluten-free bread requires time to develop its structure.
What is the secret to getting gluten-free bread to rise?
To get gluten-free bread to rise, it’s essential to activate the yeast properly and create a warm environment for the dough to rise. Using the right leaveners, such as apple cider vinegar with baking powder, helps boost the rise and creates a more stable structure.
Why is my gluten-free bread so flat?
Flat gluten-free bread could be the result of over-proofing, incorrect hydration, or an oven temperature that’s too high. Make sure to follow the rise times and ensure your dough is not too dry or too wet. An accurate oven temperature is also crucial for proper baking.
What makes gluten-free bread fluffy?
Fluffy gluten-free bread comes from using the right ingredients like yeast, egg whites, and a balance of leavening agents. Proper hydration and a slow, steady rise help create the light texture and airiness you desire.
What makes gluten-free bread sticky?
Sticky gluten-free bread is often caused by slicing the bread before it has fully cooled. Additionally, using too much liquid in the dough can result in a stickier texture. Be sure to allow the bread to cool completely before slicing, and double-check your measurements for accuracy.
What is the best gluten-free flour?
The best gluten-free flour for bread is one that’s specifically designed for yeast-based recipes. Options like Caputo Fioreglut and King Arthur Measure for Measure provide the right structure and texture. Look for blends that contain a mix of rice flour, starches, and binders to help with elasticity and rise.
Why put vinegar in gluten-free bread?
Apple cider vinegar helps activate the leavening agents in the dough. When combined with baking powder or cream of tartar, the vinegar creates a reaction that helps the bread rise and form a stable structure, resulting in a lighter, fluffier loaf.
Does baking powder help gluten-free bread rise?
Yes, baking powder helps gluten-free bread rise. It works in tandem with the yeast to create a lighter texture by releasing carbon dioxide when mixed with liquid. This added lift makes the bread airy and tender.