Discover the safe, indulgent joy of Red Velvet Edible Cookie Dough. This comprehensive guide details a nostalgic, risk-free treat that combines the rich cocoa-vanilla profile of classic cake with the creamy texture of dough.
Perfect for Valentine’s Day or a quick sweet fix, this recipe eliminates raw eggs and treats flour for total safety. Learn the science, ingredients, and techniques to master this dessert today.
Red Velvet Edible Cookie Dough
Equipment
- Mixing bowl
- Baking Sheet
Ingredients
Ingredients
- 1/4 cup unsalted butter softened to room temperature
- 1/4 cup granulated sugar
- 1/4 cup brown sugar packed lightly
- 1/2 cup all-purpose flour heat-treated for safety if preferred
- 1/4 cup cocoa powder unsweetened
- 1/4 tsp salt
- 1/2 tsp vanilla extract
- 1-2 tbsp milk as needed to reach desired consistency
- red food coloring gel or liquid, to desired color
- 1/4 cup chocolate chips optional
Instructions
- Prepare the flour (optional safety step): spread the all-purpose flour on a baking sheet and bake at 350°F (175°C) for 5 minutes to heat-treat; let cool completely.
- In a mixing bowl, add the softened butter, granulated sugar, and brown sugar. Cream together until smooth and slightly fluffy.
- Mix in the vanilla extract and red food coloring until evenly combined.
- In another bowl, whisk together the heat-treated flour, cocoa powder, and salt until combined.
- Gradually add the dry mixture into the butter-sugar mixture, stirring until fully combined.
- Add milk 1 tablespoon at a time as necessary until the dough reaches a creamy, scoopable texture.
- Fold in the chocolate chips if using, then serve immediately or refrigerate to firm up before serving.
Notes
Table of Contents
I vividly remember the afternoons spent in the kitchen with my neighbor, Madame Dupree. She was a woman of elegance who believed that even the simplest Desserts With Everyday Ingredients should be treated with the utmost respect.
She would often say that the joy of baking was not just in the final product, but in the process itself. However, she was always strict about one rule: never eat the raw dough.
She would tap my hand gently with a wooden spoon if I tried to sneak a taste, warning me of the dangers hidden within raw eggs and untreated flour.
Years later, I found myself craving that specific texture, the forbidden delight of the mixing bowl. I realized that with modern culinary knowledge, we can bypass those risks entirely.
This realization led me to perfect my own Red Velvet Edible Cookie Dough. It captures the essence of those childhood memories but reconstructs them into a safe, sophisticated treat.
It is a homage to Madame Dupree’s lessons on quality, adapted for a modern era where we prioritize both safety and indulgence.
Why We Love Red Velvet Edible Cookie Dough
The Nostalgia of the Spoon
There is a universal, almost primal desire to lick the mixing spoon when baking. It is a memory shared across generations, representing a moment of pure, unadulterated joy.
However, traditional baking requires us to wait. This recipe for Red Velvet Edible Cookie Dough satisfies that immediate craving without the anxiety of consuming raw ingredients.
It bridges the gap between the raw batter we coveted as children and the safe food practices we adhere to as adults. It allows us to indulge in Munchies Desserts without fear.
The texture is perfectly dense and creamy, mimicking the exact mouthfeel of dough right before it enters the oven.
What Makes It “Red Velvet”?
Many people mistakenly believe that red velvet is simply chocolate cake with red food coloring. In reality, true red velvet is a complex flavor profile.
It consists of a subtle blend of mild cocoa and vanilla, often with a slight tang that mimics the buttermilk found in the baked version.
When we create a red velvet edible cookie dough recipe, we are balancing these elements carefully. It is not overwhelmingly chocolatey like a brownie, nor is it plain like a sugar cookie.
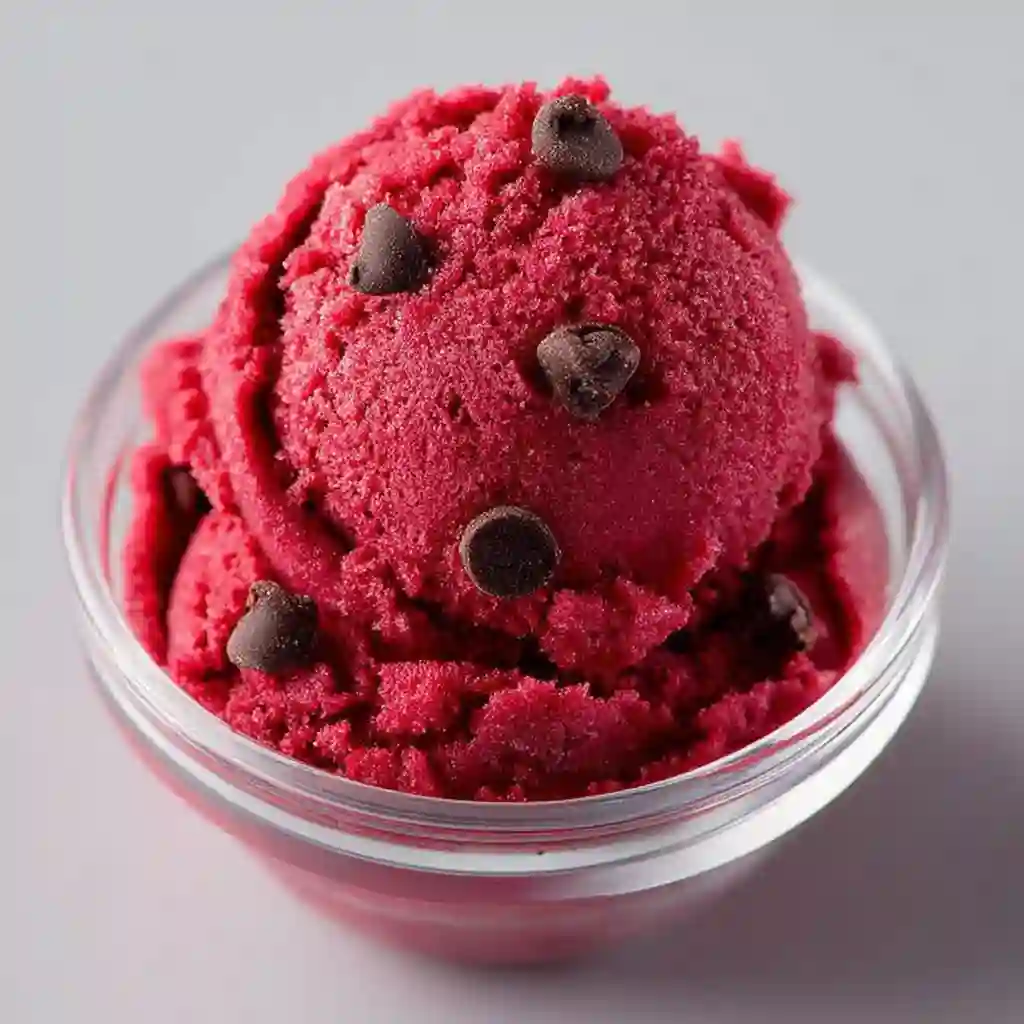
It occupies a delicious middle ground, visually striking and distinct in flavor. The vibrant color makes it visually appealing, but the taste is what keeps you coming back.
Safety Without Sacrifice
The concept of Edible Dough Recipes has revolutionized home snacking. By removing raw eggs and heat-treating the flour, we eliminate the risk of Salmonella and E. coli.
This process ensures that safety does not come at the expense of flavor or texture. You do not need to compromise on the gooey, rich consistency that defines a good cookie dough.
In fact, without the eggs, the butter and sugar flavor profile shines even brighter. It is a viral edible cookie dough concept that has stood the test of time because it simply works.
Perfect for Occasions
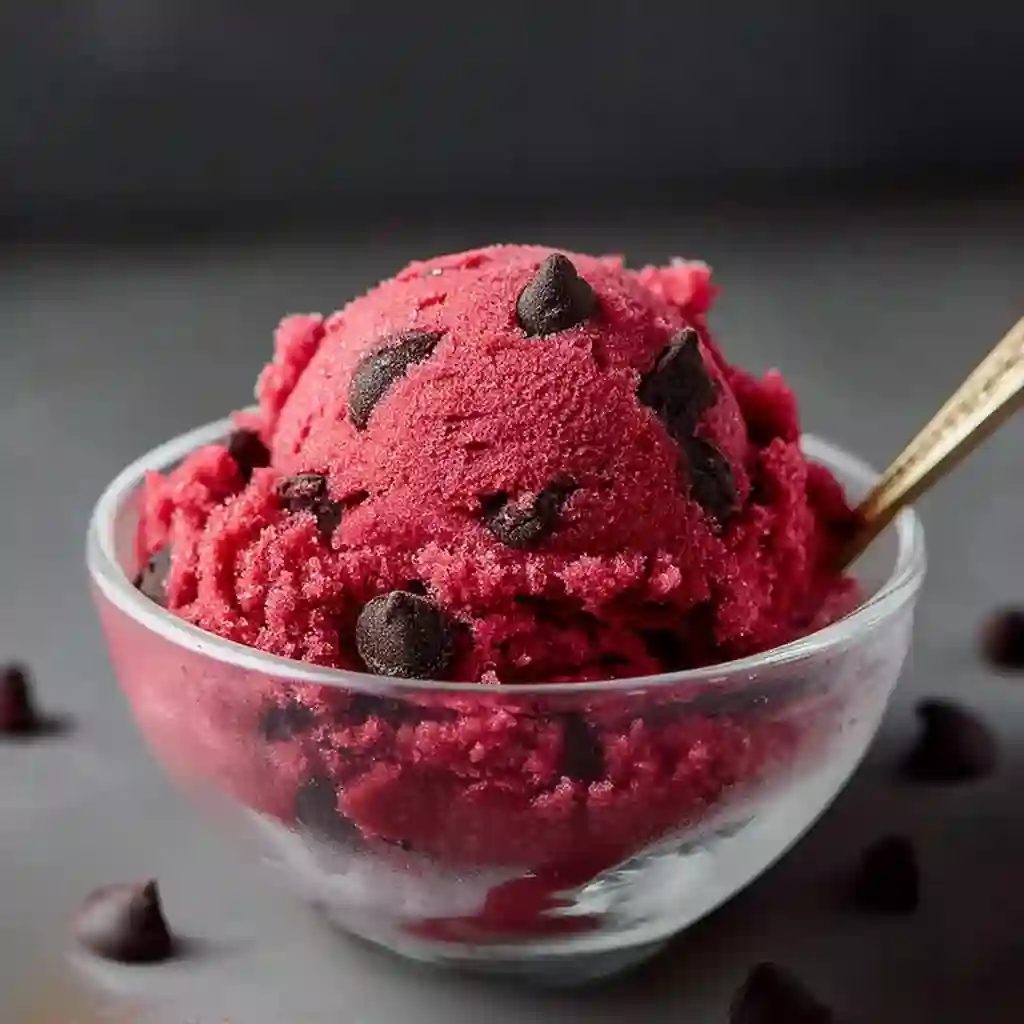
This treat is incredibly versatile. Its deep crimson hue makes it the perfect candidate for romantic occasions.
If you are looking for Valentine’s Day treats, this dough can be shaped into hearts or served in elegant glassware.
It is also ideal for Christmas, adding a pop of color to dessert tables. Furthermore, it serves as an excellent option for movie nights when you want Cool Easy Desserts.
Whether you are making it for a party or just for yourself, it feels special and celebratory.
The Science of Safety: Heat-Treating Flour
Why Raw Flour is Risky
Most home bakers understand the risks of raw eggs, but fewer realize that raw flour is equally dangerous. Flour is a raw agricultural product.
It is grown in fields where it can be exposed to bird droppings and other contaminants. Consequently, it can harbor harmful bacteria such as E. coli and Salmonella.
Processing does not kill these bacteria; only heat does. Therefore, using raw flour in no bake red velvet cookies or dough is unsafe.
To make this recipe truly edible and safe, we must subject the flour to a “kill step” that destroys these pathogens.
Method 1: The Oven Technique (Recommended)
The most reliable method for heat-treating flour involves your oven. This ensures even heating and reduces the risk of burning.
Begin by preheating your oven to 350°F (175°C). Line a baking sheet with parchment paper for easy cleanup.
Spread the flour out onto the baking sheet. It is important to spread it in a thin, even layer to ensure consistent heat distribution.
Bake the flour for approximately 5 to 7 minutes. You are not trying to toast the flour; you merely want to bring its temperature up to 160°F (71°C).
Allow the flour to cool completely before using it. If you add hot flour to your butter, you will melt the fat and ruin the texture of your Red Velvet Edible Cookie Dough.
Method 2: The Microwave Shortcut
If you are short on time, the microwave is a viable alternative, though it requires more attention.
Place your flour in a microwave-safe bowl. Heat it on high power in 30-second intervals.
Stir the flour well between each interval to prevent “hot spots” that could burn the flour.
Use an instant-read thermometer to check that the flour has reached 165°F (74°C). This usually takes about 1 to 2 minutes total.
While this method is faster, it is easier to accidentally scorch the flour, so proceed with caution when making your red velvet edible cookie dough ingredients.
Sifting is Key
Regardless of the method you choose, heat-treating flour often causes it to clump together.
These clumps can create a gritty, unpleasant texture in your final dough. To avoid this, you must sift the flour after it has cooled.
Run it through a fine-mesh sieve into your mixing bowl. This aerates the flour and ensures a velvety smooth consistency.
This step is crucial for achieving the professional quality found in a red velvet cookie dough cake or similar high-end desserts.
Ingredients for the Perfect Red Velvet Edible Cookie Dough
Butter Base
The foundation of any good cookie dough is butter. For this recipe, I strongly recommend using unsalted butter.
Using unsalted butter allows you to control the sodium level precisely. If you only have salted butter, omit the additional salt listed in the recipe.
Crucially, the butter must be softened to room temperature. It should yield gently to the touch but not be greasy or melted.
Properly softened butter creams easily with sugar, creating the tiny air pockets that give the red velvet edible cookie dough recipe its lightness.
The Sugars
We use a combination of sugars to achieve the perfect texture and depth of flavor.
Brown Sugar: This is essential for moisture. The molasses content in brown sugar provides that signature chewiness we associate with cookie dough.
Granulated Sugar: This adds necessary sweetness and helps to aerate the butter during the creaming process.
The balance of these two sugars is what distinguishes high-quality Edible Desserts from mediocre ones.
Cocoa Powder Selection
The choice of cocoa powder significantly affects the flavor profile. You have two main options: natural cocoa and Dutch-processed cocoa.
Natural Cocoa: This is lighter in color and has a sharper, more acidic chocolate flavor.
Dutch-Processed Cocoa: This has been treated with an alkali to neutralize acidity. It is darker and mellower.
For a red velvet edible cookie dough, a regular unsweetened cocoa powder works well to maintain the red color, as very dark cocoa can muddy the hue.
The “Red” Factor
To achieve that iconic red velvet look, food coloring is necessary. However, not all colorings are created equal.
Gel Food Coloring: I highly recommend using gel coloring. It is highly concentrated, so you need less of it.
Liquid Food Coloring: This can add too much extra moisture to the dough, potentially throwing off the consistency.
If you prefer natural options, some bakers use beet powder. This creates a more earthy tone and is a great option for red velvet cookies ingredients.
Liquid Binder
Since we are removing eggs, we need a liquid to bind the ingredients together.
Milk is the standard choice. You can use whole milk for richness or skim milk if you prefer.
For a dairy-free version, almond or oat milk works perfectly. The liquid should be added slowly to control the texture.
This flexibility is what makes this one of the Easiest Desserts To Make.
Mix-ins
The classic pairing for red velvet is white chocolate. The creamy, milky sweetness cuts through the mild cocoa flavor.
White Chocolate Chips: Ensure you use high-quality chips that melt in your mouth.
Semi-Sweet Chips: If you find white chocolate too sweet, dark chocolate is a sophisticated alternative.
You can also add sprinkles for a festive touch, turning the dish into Red Velvet Crumble Cookies style treat.
Step-by-Step Instructions for No-Bake Success
Step 1: Prep the Flour
As discussed, begin by heat-treating your flour. Do not skip this step.
Once the flour has been baked and cooled, sift it into a medium bowl along with the cocoa powder.
Whisking the cocoa and flour together ensures that you will not have streaks of white or brown in your red dough.
This preparation is the secret to a smooth viral edible cookie dough.
Step 2: Creaming the Butter and Sugars
In a large mixing bowl, combine your softened butter, granulated sugar, and brown sugar.
Use a hand mixer or a stand mixer fitted with the paddle attachment. Beat the mixture on medium-high speed.
You want to beat it until it is pale and fluffy. This usually takes about 2 to 3 minutes.
This process forces air into the butter, which is essential for a light texture in your red velvet cookie dough recipe.
Step 3: Flavor Infusion
Once the butter and sugar are creamed, scrape down the sides of the bowl.
Add the vanilla extract and salt. The salt is vital; it enhances the chocolate and balances the sweetness.
This is the stage where the base flavor profile is established, setting it apart from a standard red velvet cookie recipe.
Step 4: Achieving the Color
Add the red food coloring to the butter mixture before adding the dry ingredients.
Mixing the color into the fat ensures it distributes evenly and vividly.
Start with a few drops of gel coloring and mix. Add more until you reach your desired shade of crimson.
If you wait to add color until the flour is added, you risk overworking the dough, which can make it tough.
Step 5: Incorporating Dry Ingredients
Turn your mixer to the lowest speed setting. Gradually add the flour and cocoa mixture.
Mix only until the dry ingredients are just combined. The mixture will look crumbly at this stage.
Do not overmix. Overmixing can develop gluten, which we want to avoid even in no bake red velvet cookies.
Step 6: Adjusting Consistency
With the mixer running on low, add the milk one tablespoon at a time.
Stop and check the consistency after each tablespoon. You want a dough that holds together but is not sticky.
If it is too dry, add another teaspoon of milk. If it becomes too wet, you can add a pinch more heat-treated flour.
This step allows you to customize the texture, whether you like it firm or soft like red velvet cookie dough pillsbury.
Step 7: The Final Fold
Remove the bowl from the mixer. Pour in your white chocolate chips or chosen mix-ins.
Use a sturdy spatula to fold the chips into the dough by hand.
This ensures the chips are not broken by the mixer beaters and are distributed evenly.
Your red velvet edible cookie dough ingredients are now fully transformed into a delicious treat.
Variations: Vegan, Gluten-Free, and Protein Options
Vegan Red Velvet Edible Cookie Dough
It is incredibly simple to adapt this recipe for a vegan diet.
Substitute the dairy butter with a high-quality vegan butter block. Avoid tub margarines as they have too much water content.
Use plant-based milk such as soy or almond milk. Ensure your white chocolate chips are certified dairy-free.
This variation makes Vegan dessert ideas accessible without sacrificing the classic red velvet taste.
Gluten-Free Modifications
For those with gluten sensitivities, you can easily make this safe.
Replace the all-purpose flour with oat flour or a 1:1 gluten-free flour blend.
Note that even raw gluten-free flour should be heat-treated to eliminate bacterial risks.
This creates a delicious gluten-free edible dough that creates a safe midnight snack for everyone.
High-Protein “Swole” Dough
If you want to turn this indulgent treat into a post-workout snack, you can boost the protein.
Replace half of the flour with a high-quality chocolate or vanilla protein powder.
You may need to increase the liquid slightly, as protein powder is very absorbent.
This is a great way to enjoy Good Sweet Recipes while maintaining your nutritional goals.
The “Cake Mix” Hack
For the ultimate shortcut, you can use a box of red velvet cake mix.
You must still heat-treat the dry cake mix in the oven for safety.
Mix the heat-treated mix with butter and a little milk. This is often called Red Velvet Cookies From Cake Mix Easy.
It provides an intense flavor but tends to be sweeter than the scratch-made version.
Serving Ideas and Storage Tips
Serving Suggestions
By the Spoon: The most classic way to enjoy this is simply scooping it directly from the bowl.
Dough Truffles: Roll the dough into small balls and chill them. Dip them in melted chocolate for Red Velvet Truffles.
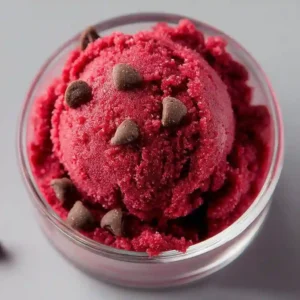
Ice Cream Topper: Crumble the dough over a bowl of vanilla bean ice cream. This mimics the popular red velvet cookie dough near me ice cream shop toppings.
Jar Gifts: Layer the dough in small mason jars with ribbon. This makes for an adorable, personal gift.
Refrigeration
Red Velvet Edible Cookie Dough stores beautifully in the refrigerator.
Place the dough in an airtight container. It will stay fresh for up to one week.
The butter will harden in the cold, so the dough will become firm.
For the best experience, let the dough sit on the counter for 10 to 15 minutes before eating.
Freezing
This dough is freezer-friendly, making it one of the best Things To Make For Dessert in advance.
You can freeze it in a large block or pre-scoop it into individual balls.
Store the balls in a freezer-safe bag for up to 3 months.
You can eat them frozen for a chewy treat or thaw them in the fridge overnight.
More easy Recipes To Try!
Cheesy Philly Steak Tortellini Skillet
Frequently Asked Questions
Is it safe to eat raw flour in cookie dough?
No, raw flour is not safe to eat because it is an agricultural product that can harbor harmful bacteria like E. coli and Salmonella. To make Red Velvet Edible Cookie Dough safe, you must “heat treat” the flour. This involves baking the flour on a cookie sheet at 350°F (175°C) for 5 to 7 minutes or microwaving it until it reaches 165°F (74°C) to kill any potential pathogens.
Can I bake this edible dough into cookies later?
Generally, no. This recipe is specifically formulated to be eaten raw. It lacks leavening agents (like baking soda or baking powder) and eggs, which are essential for cookies to rise and hold their structure during baking. If you bake this dough, it will likely melt into a flat, greasy puddle, unlike a standard red velvet cookie recipe.
Why is my cookie dough bitter?
If your dough tastes bitter, it is likely due to one of two reasons. First, you may have used too much red food coloring, which can have a chemical aftertaste. Second, low-quality cocoa powder can be overly bitter. Ensure you are using quality ingredients for your red velvet edible cookie dough recipe.
Can I make this without food coloring?
Yes, you can omit the food coloring. The flavor will remain exactly the same a delicious blend of mild chocolate and vanilla. However, the visual appearance will be a light chocolate brown rather than the iconic bright red associated with red velvet cake.